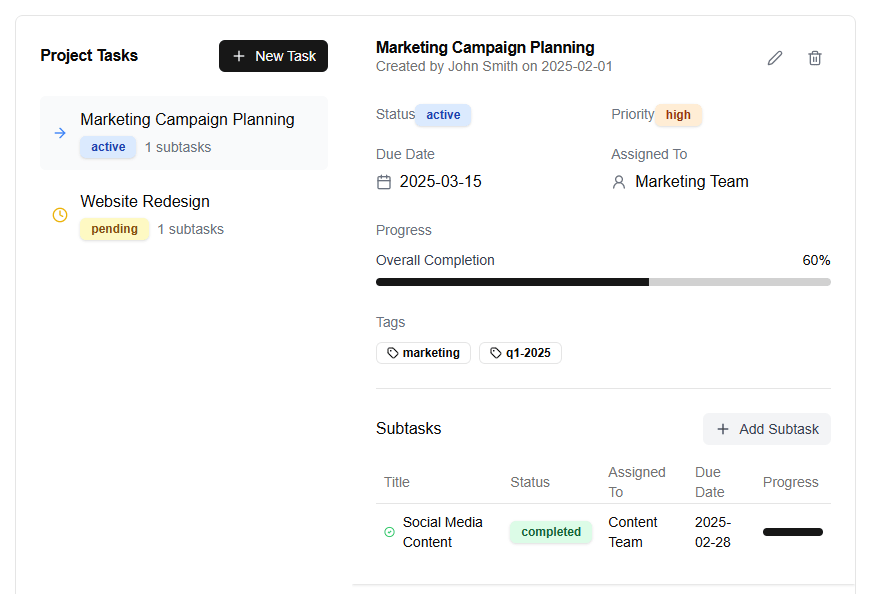
SharePoint Lists allows you to create subtasks that can be used to break down larger tasks into smaller, more manageable pieces. This feature is especially useful for projects with multiple dependencies or complex workflows.
Check out these SharePoint App templates to implement advanced list subtasks in a SharePoint site.
To implement subtasks in SharePoint Lists, follow these steps:
First, create a new task list or open an existing one where you want to add subtasks. In the list settings, click on the “Task” option and then select “Enable Subtasks”.
Next, go back to your list view and click on the gear icon at the top right corner of the screen. Select “List settings” from the dropdown menu.
In the list settings page, scroll down to the “Tasks” section and check the box next to “Allow subtasks”. Click save to apply the changes.
Now you can start creating tasks that have subtasks. To create a subtask, click on the three dots at the top right corner of the task card and select “Create Subtask”.
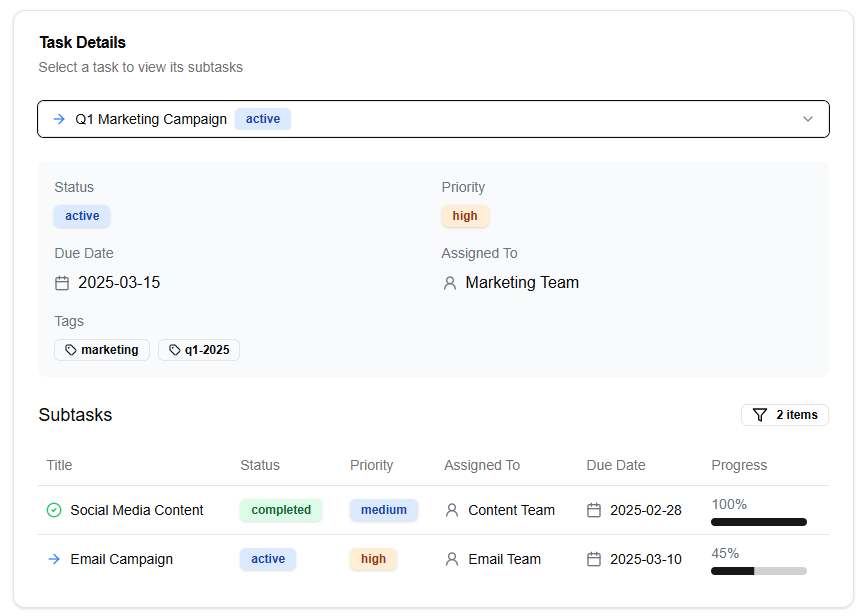
Fill in the necessary details for your subtask, such as the title, description, due date, and assignee. You can also set dependencies between tasks by selecting the “Dependencies” tab.
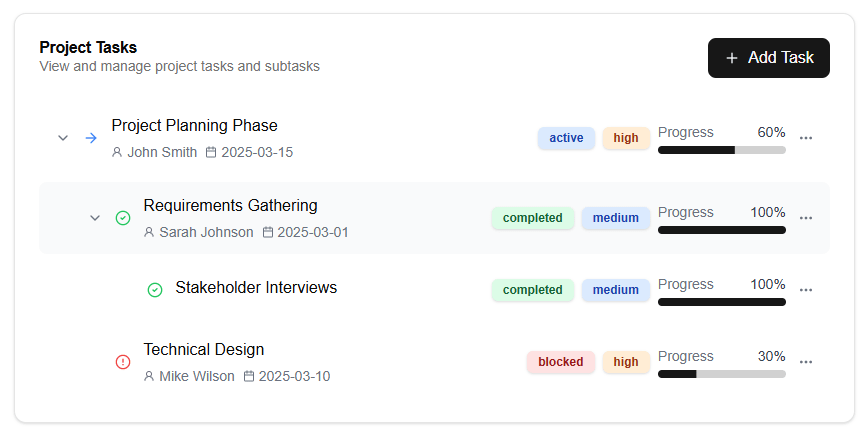
Repeat this process to create multiple subtasks under each parent task.
To view all the subtasks under a specific task, click on the task card and then select “Subtasks” from the dropdown menu.
You can also use filters and views to organize your subtasks and track their progress. For example, you can filter by due date or assignee to see which tasks are nearing completion or need attention.
By implementing subtasks in SharePoint Lists, you can create a more detailed and organized project plan that helps you stay on track and ensure timely completion of all tasks.