Effectively Manage Document Versions with Check In and Check Out in SharePoint

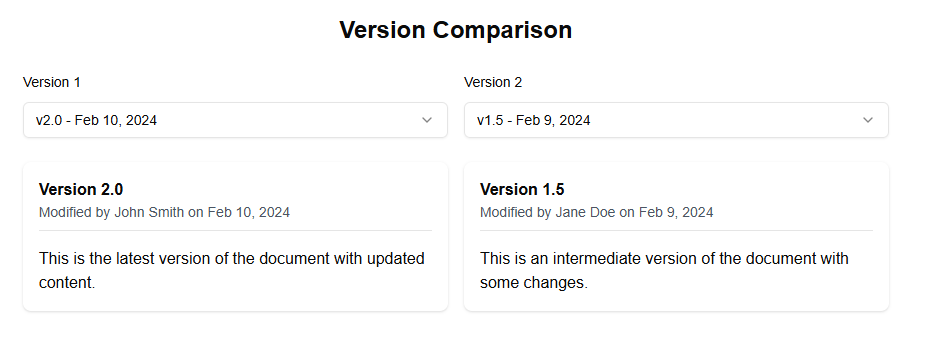
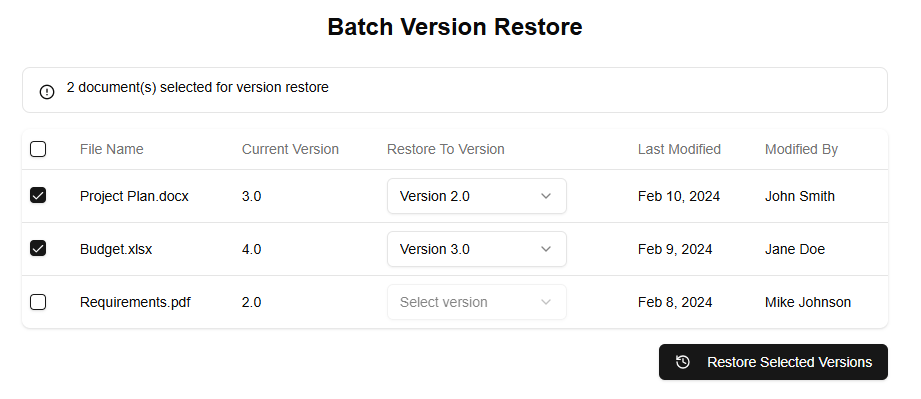
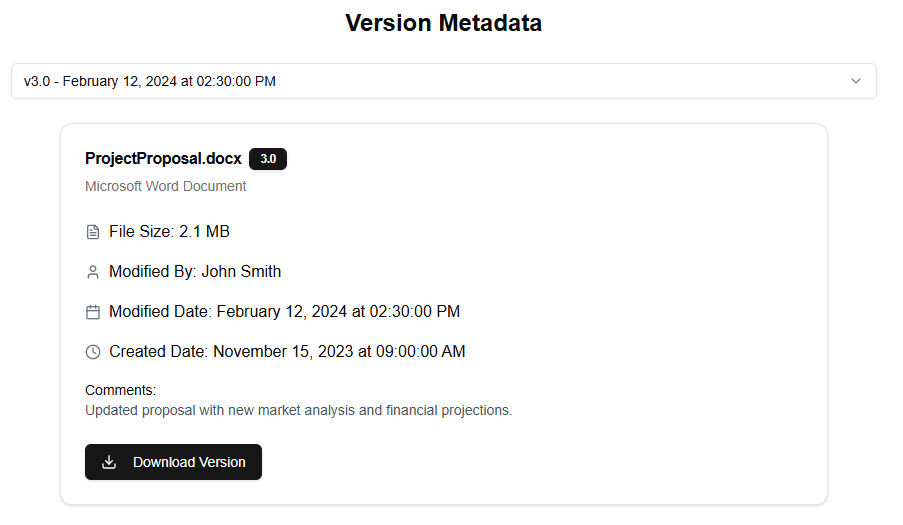
Using the check-in and check-out feature in SharePoint helps manage document versions and prevent conflicts when multiple users are editing files. This functionality ensures that changes are tracked, and document integrity is maintained. To enhance the core SharePoint versioning history features, check out the following custom developed SharePoint web parts and then read more about check in and check out below.

Version History Manager Web Part

The Version History web part displays all versions of a file.
Version History Manager

Version Comparison Web Part

The Version Comparison web part allows you to compare two versions of a document.
Version Comparison

Version Batch Operations Web Part

The Batch Version Restore web part allows you to restore multiple files to previous versions at once.
Version Batch Operations

Version Detailed Metadata Web Part

The Version Detailed Metadata web part displays detailed information about a specific version of a file.
Version Detailed Metadata

Steps to Use Check In and Check Out in SharePoint:

  1. Check Out a Document:
    • Navigate to the document library where the file is stored.
    • Select the document you want to check out.
    • Click on “More” in the command bar and select “Check Out.”
  2. Edit the Document:
    • Download the document or edit it directly in the browser.
    • Make the necessary changes to the document.
  3. Check In the Document:
    • After editing, save the changes.
    • Return to the document library, select the document, click on “More,” and choose “Check In.”
    • Provide comments describing the changes made (optional).
  4. Manage Version History:
    • Right-click on the document and select “Version History.”
    • Review and restore previous versions if needed.

Leave a Reply

Discover more from FastSharePoint

Subscribe now to keep reading and get access to the full archive.

Continue reading